Master The Art Of Creating Stunning Panoramas In Photoshop: Unleash Your Creativity With Our Step-by-Step Guide!

How to Create a Panorama in Photoshop
Introduction
Welcome, Happy People, to this informative article on how to create a panorama in Photoshop. Panoramic images are stunning and provide a wide-angle view of a scene, capturing the essence and beauty in a single frame. In this article, we will walk you through the step-by-step process of creating a panorama using the powerful features of Photoshop. Whether you are a professional photographer or a hobbyist, this guide will equip you with the necessary skills to create breathtaking panoramas. So, let’s dive in and explore the world of panoramic photography!
3 Picture Gallery: Master The Art Of Creating Stunning Panoramas In Photoshop: Unleash Your Creativity With Our Step-by-Step Guide!
What is a Panorama?
A panorama is a wide-angle image that captures a wider field of view than a standard photograph. It allows you to capture the complete scene, from left to right, in a single image. Panoramas are often used to showcase landscapes, cityscapes, and architectural wonders. They offer a unique perspective that immerses the viewer in the beauty of the surroundings.
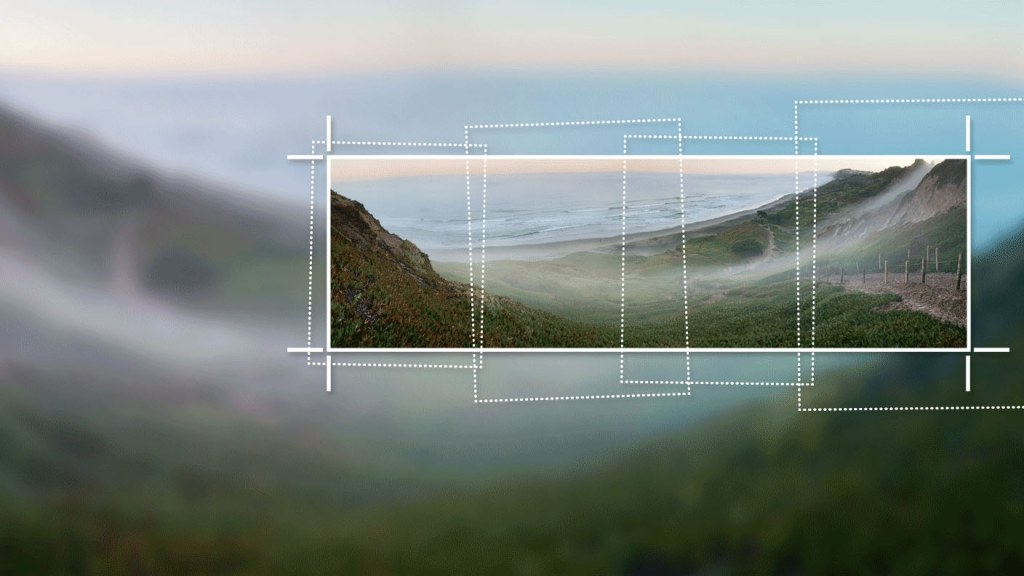
How to Create a Panorama:
Image Source: adobe.com
To create a panorama in Photoshop, follow these simple steps:
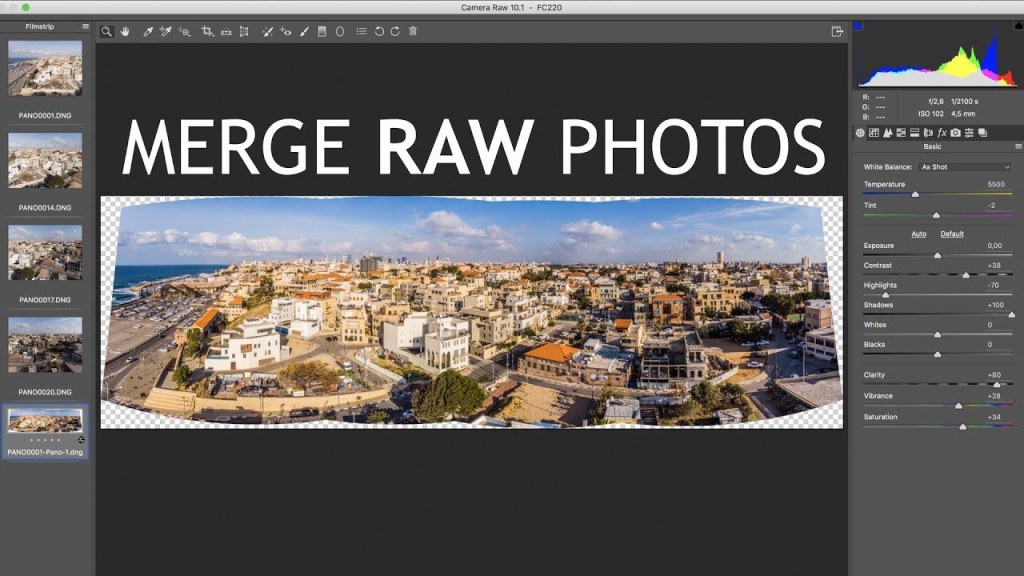
1. Open Photoshop and go to File > Automate > Photomerge.
Image Source: ytimg.com
🔑 Pro Tip: Make sure you have captured a series of overlapping images to create a seamless panorama.
2. In the Photomerge dialog box, click on Browse to select the images you want to merge into a panorama.
🔑 Pro Tip: Arrange your images in the desired order before selecting them. This will ensure a smooth transition from one image to another.
Image Source: ytimg.com
3. Select the desired layout option (Auto, Perspective, Cylindrical, or Reposition). Auto usually works well for most panoramas.
🔑 Pro Tip: Experiment with different layout options to achieve the desired effect for your panorama.
4. Check the Blend Images Together option to blend the individual images seamlessly.
🔑 Pro Tip: Enabling this option ensures that the final panorama appears as a cohesive image without any visible seams.
5. Click OK and let Photoshop work its magic! It will automatically align and merge the selected images into a panorama.
🔑 Pro Tip: Grab a cup of coffee and be patient while Photoshop processes your panorama. The result will be worth the wait!
6. Once the process is complete, you can further enhance your panorama using Photoshop’s editing tools.
🔑 Pro Tip: Adjust the exposure, contrast, and saturation to make your panorama pop. Experiment with filters and effects to add your creative touch.
Advantages and Disadvantages of Creating a Panorama in Photoshop
Like any technique, creating a panorama in Photoshop has its advantages and disadvantages. Let’s take a closer look:
Advantages:
1. Wide Perspective: Panoramas offer a wider field of view, allowing you to capture more of the scene in a single image.
2. High Resolution: By merging multiple images, you can create a high-resolution panorama that retains details even when zoomed in.
3. Creative Freedom: Photoshop provides a range of editing tools to enhance and transform your panorama, making it a creative playground for photographers.
4. Dramatic Impact: Panoramas have a unique visual impact, immersing viewers in the scene and creating a sense of grandeur.
5. Professional Presentation: Panoramas are widely used in architecture, real estate, and travel photography to showcase spaces and locations.
Disadvantages:
1. File Size: Panoramas created in Photoshop can result in large file sizes, requiring more storage space.
2. Processing Time: Creating panoramas can be time-consuming, especially when working with a large number of high-resolution images.
3. Complexity: The process of merging and editing images to create a seamless panorama requires some technical knowledge and practice.
4. Distortion: Wide-angle panoramas may introduce distortion at the edges, which can affect the overall image quality.
5. Limited Dynamic Range: Panoramas may struggle to capture a wide dynamic range, resulting in loss of detail in highlights and shadows.
Frequently Asked Questions (FAQ)
1. Can I create a panorama with photos taken from different cameras?
Yes, you can create a panorama using photos taken from different cameras. However, ensure that the exposure and focal length settings are consistent to achieve better results.
2. What is the recommended file format for saving panoramas?
The recommended file format for saving panoramas is TIFF. It preserves the image quality and allows for further editing without significant loss of detail.
3. Can I create a panorama from scanned old photographs?
Yes, you can create a panorama from scanned old photographs. Make sure the scanned images are of high quality and align them properly in Photoshop.
4. How can I fix distortion in my panorama?
To fix distortion in your panorama, use the Adaptive Wide Angle filter in Photoshop. This tool helps correct any lens distortion and straighten lines in your image.
5. Can I print my panorama in a large format?
Yes, you can print your panorama in a large format. Panoramas are ideal for printing in larger sizes as they retain details and offer a grand visual experience.
Conclusion
In conclusion, creating a panorama in Photoshop opens up a world of possibilities for photographers. With the right techniques and tools, you can capture breathtaking landscapes, architectural wonders, and immersive cityscapes. Remember to follow the step-by-step process, explore different layout options, and unleash your creativity through editing. Embrace the advantages of panoramas while being aware of the potential limitations. So, grab your camera, capture those stunning scenes, and let Photoshop transform them into captivating panoramas!
Happy panoramic photography!
Final Remarks
Creating panoramas in Photoshop is an exciting journey that allows photographers to transcend the limits of a single frame. While this guide provides a comprehensive overview of the process, it is essential to practice and experiment to master the art of panoramic photography. Remember, the more you explore and refine your skills, the more breathtaking panoramas you will create. Happy shooting and may your panoramas leave a lasting impression on all who view them!
This post topic: Panorama


